3D Multi Layer Christmas SVG: Crafting Depth in Holiday Design
When you slide a handmade card out of its envelope or glimpse a paper ornament catching the light, there’s a moment of surprise—a sense of dimension that feels almost physical. That sense of depth is what 3D Multi Layer Christmas SVG brings to modern holiday crafting. These digital files stack multiple cut pieces to create shadows, highlights, and spatial layers, turning a flat sheet of cardstock into a miniature scene. Whether you run a small Etsy shop, teach a classroom of crafters, or simply want your mantelpiece to look a bit more polished, understanding these files opens up a new way of working with paper.
What Makes a Multi Layer SVG Different from a Standard Design
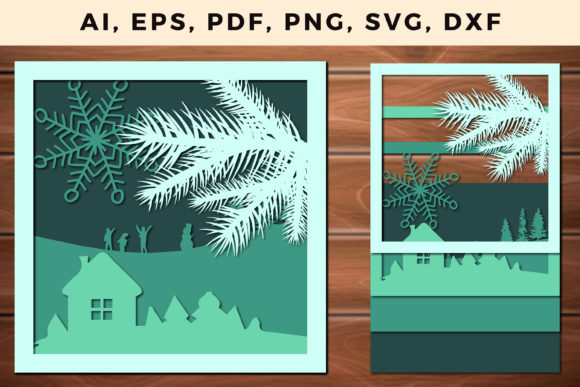
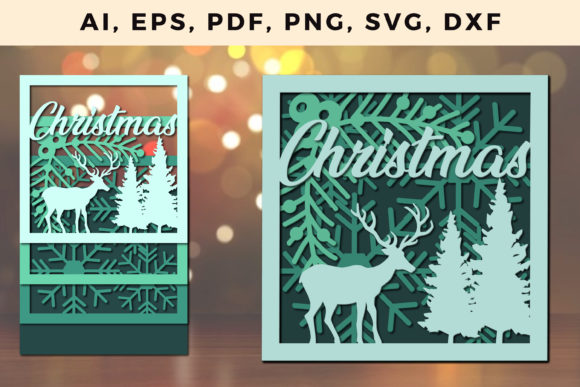
A standard SVG—scalable vector graphic—contains single outlines intended for cutting or drawing one flat shape. A multi layer SVG divides a composition into separate parts, each stored on its own layer. In a Christmas context, you might have a tree layer, a star layer, a background shadow layer, and an accent layer for ornaments. When cut and stacked, the spacing between layers creates an illusion of depth. The 3D effect comes not from rendered digital graphics but from physical height: the air gap between pieces gives shadows that shift with changing light.
Modern home cutting machines like Cricut and Silhouette made these files accessible to hobbyists. Before, achieving a layered look required manual tracing, precise registration, and careful glue work. Now, a well-designed file does the alignment for you. The user focuses on choosing paper colors and assembling the pieces in order. For anyone who has tried to align tiny shapes by eye, the relief is immense.
Why Layered Christmas Files Are Gaining Traction
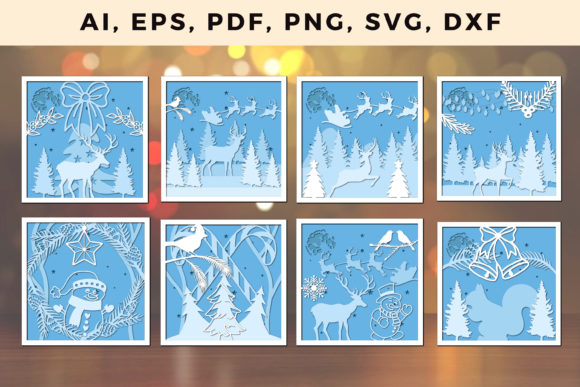
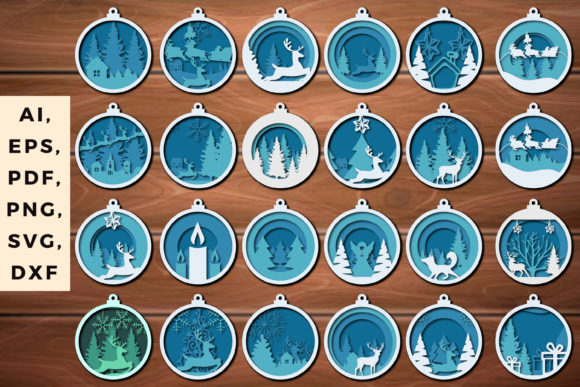
Several trends converged to make 3D Multi Layer Christmas SVG files particularly popular. First, the rise of personalization. People want holiday décor that carries their own taste rather than mass‑produced items from big‑box stores. A layered SVG can be customized by swapping paper shades, mixing textures—like glitter or matte—or adding personal names to the design. Second, the maker movement turned crafting into a viable side hustle. Designers create themed bundles for Advent calendars, nativity scenes, or village displays, selling them on platforms like Creative Market, Etsy, and Design Bundles.
Third, the digital craft community has become highly visual. Social media feeds reward projects that photograph well. A multi layer piece, especially one illuminated from behind or placed in a shadow box, produces striking images and short videos. The depth is compelling on camera, which encourages sharing and, in turn, more downloads.
Additionally, the habits of crafters shifted during recent years toward affordable at‑home activities. Investing in a cutting machine and learning to assemble layered designs offers a satisfying challenge without requiring a dedicated workshop. For professionals like graphic designers or marketers, these files also serve as a quick way to produce custom samples or branded holiday gifts for clients.
How Layered SVG Design Evolved from Flat Cut Files
Early SVGs for Cricut and Silhouette were mostly flat: a snowflake, a reindeer silhouette, a simple tree. They cut quickly and served well for vinyl decals and basic cards. As machines improved—higher precision, deeper cut depth, and ability to handle thicker cardstock—designers began experimenting with stacking. They realized that by offsetting the same shape in different sizes and adding small spacer elements (sometimes called foam dots or chipboard layers), they could produce a “pop‑up” effect.
The next leap came from combining offset layers with shadow layers. A shadow layer is a slightly larger version of the main piece printed or cut in a darker color. Placed behind the main piece, it simulates a cast shadow. This technique, borrowed from digital illustration and print design, gives the finished project a realistic, almost 3D rendered look without any digital rendering. Today, sophisticated SVG bundles include score lines for folding or bending, registration marks for guided assembly, and layered SFC (Studio File for Cardmaking) layouts that automatically split designs onto separate mats.
Practical Implications for Creators and Small Businesses
For anyone selling SVG designs, offering well‑tested 3D Multi Layer Christmas SVG bundles can differentiate a shop from competitors. The audience—busy parents, teachers, and craft enthusiasts—wants files that assemble reliably and produce a stunning result with minimal waste. A strong listing will include a clear photo of the finished piece from multiple angles, a short assembly video, and a list of recommended paper weights (usually 65 lb to 110 lb cardstock).
Business owners can also use layered designs as promotional giveaways or packaging inserts. Imagine a boutique bakery pairing its holiday cookies with a tiny layered paper tree ornament that customers assemble at home. The brand name is subtly included on the base layer. That small touch can foster customer loyalty far better than a generic sticker.
For educators and workshop leaders, multi layer SVGs offer ready‑made curriculum. A one‑hour workshop can cover file preparation, cutting settings, and simple assembly—activities that teach spatial reasoning and fine motor skills. Because the designs are digital, a single purchase can provide files for an entire class; each student uses their own machine or cuts at a maker space.
Assembling a 3D Multi Layer Christmas Project: What to Expect
A typical layered Christmas project contains between three and ten layers. Beginners often start with a simple three‑layer tree: background, tree body, and star. More complex pieces, such as a winter village scene, may include buildings, snow drifts, trees, and a moon—cut from subtle gradient papers. The cutting process itself is straightforward: load standard cardstock onto a standard grip mat, select the appropriate material setting in Design Space or Silhouette Studio, and cut each layer. Because the layers are nested inside the SVG file, you cut them all at once, then sort the pieces by color or number.
Assembly requires patience but not advanced skills. Foam adhesive squares (also called foam dots) lift the upper layers away from the base. Stacking con