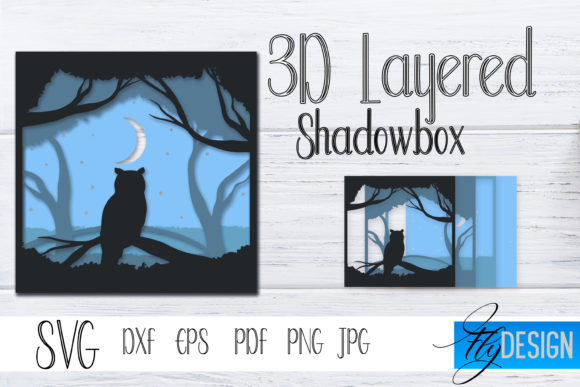
3D Layered SVG: Shadowbox Nature 7 – A Practical Guide for Creators and Designers
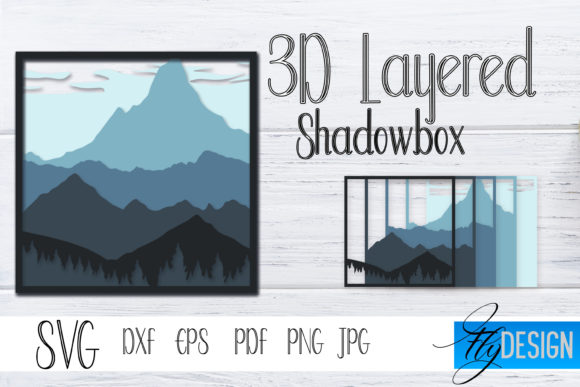
Working with layered design assets can often feel like a trade-off between visual depth and technical simplicity. You want dimensional, tactile results, but you also need files that are predictable, editable, and easy to integrate into your existing pipeline. The 3d Layered SVG. Shadowbox Nature 7 set addresses that gap directly. It is a collection of layered vector files designed for creating shadowbox-style compositions with natural motifs. Instead of forcing you to build depth manually from scratch, these files provide pre-separated layers that stack together to produce a convincing three-dimensional effect when rendered in a shadowbox frame, a digital mockup, or even a physical cut project.
Understanding what this set is and where it fits inside a broader workflow matters more than simply knowing its features. The real value emerges when you see how it slots into planning, execution, and long-term asset management. Whether you are a freelance designer building client presentations, a hobbyist crafting physical gifts, or a small business owner producing consistent visual content, this resource works best when you approach it as part of a deliberate process rather than a standalone download.
What 3D Layered SVG. Shadowbox Nature 7 Really Offers
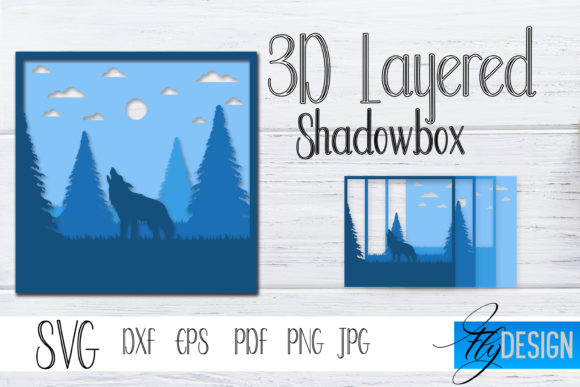
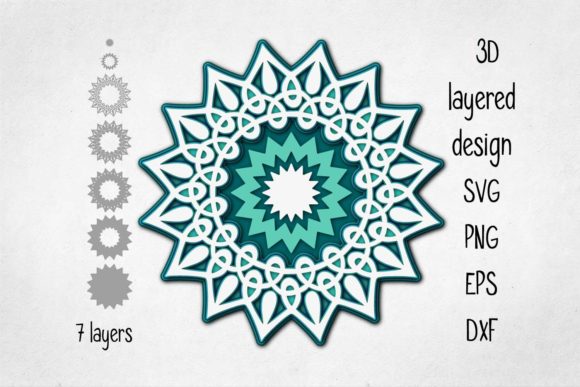
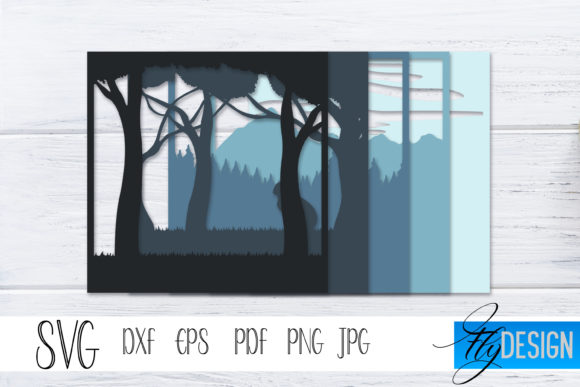
At its core, this is a set of SVG files arranged in distinct layers. Each layer represents a separate depth plane within the composition. When stacked in sequence, these layers create the illusion of a shadowbox: foreground elements appear closer, background elements recede, and the overall scene gains a sense of physical space. The nature theme includes elements like foliage, branches, landscapes, and organic textures, all rendered in a style that works well for both digital display and physical fabrication.
The key distinction here is that these are layered SVGs, not static images or pre-rendered graphics. That means every element remains editable. You can adjust colors, resize individual components, rearrange layering order, or strip out parts you do not need. This editability is what makes the set valuable for professionals who need to adapt assets to different formats without starting from zero. The shadowbox effect itself carries a handmade, craft-oriented aesthetic, which makes it particularly effective for projects that need to communicate authenticity, natural texture, or a sense of depth without requiring 3D modeling software.
Where Shadowbox Nature 7 Fits Into a Creative Workflow
Integrating a resource like this into your routine depends on what stage of the project you are in. It is not a magic bullet, but it is a reliable shortcut for specific phases of the design process. Here is how it maps to common workflow stages.
Before the Project: Planning and Asset Preparation
When you are still in the planning phase, the biggest bottleneck is often sourcing assets that match your intended aesthetic. If you know your project calls for a natural, dimensional look, reviewing a set like Shadowbox Nature 7 early lets you decide whether the style aligns with your direction. Because SVGs are vector format, they scale without quality loss, so you can test them at different sizes without committing to a final resolution. This is especially useful if you are designing for multiple formats, such as a website hero section, a printed display, and a social media graphic. You can use the same core layers across all three, adjusting colors and layout per format, rather than recreating the scene each time.
During planning, take time to examine the layer structure of the files. Open them in your vector editor and note which layers are foreground, midground, and background. This preview step helps you decide whether you need to add custom elements, merge layers, or modify colors before the actual build phase. A small investment of time here prevents rework later.
During the Project: Execution and Adaptation
Once you move into active design or production, the layered SVG structure becomes a practical tool. Each layer can be treated as a separate element in your timeline or composition. If you are working in a tool like Adobe Illustrator, Inkscape, or a laser cutter software, you can toggle visibility, adjust opacity, or apply effects to individual layers without affecting the whole scene.
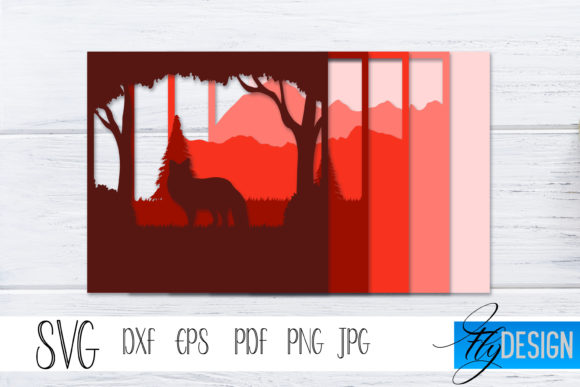
For digital projects, consider using the layers to create parallax-style animations or interactive elements. A simple hover effect that moves the foreground layer slightly in one direction and the background layer in the opposite direction can simulate depth on a web page. For physical projects, such as laser-cut shadowboxes, each layer can be assigned to a different cutting depth or material thickness. The pre-separated layers mean you do not have to spend time manually splitting a flat design into cut paths. That step is already done.
One practical workflow example is using the set for mockups. If you are presenting a concept to a client, you can quickly assemble a layered scene, export it as a PNG with transparency, and drop it into a frame mockup. The depth effect communicates a finished quality that a flat illustration often does not, and because the file is vector, you can tweak colors in minutes based on client feedback.
After the Project: Quality Control and Repurposing
After you finish a project, the layered SVG files remain useful. Archive them with your project files so you can revisit and repurpose individual layers later. Because the asset is modular, you can pull a single foreground element, such as a branch or leaf, and use it in a different composition. This is far more efficient than recreating those elements from scratch for every new project.
Quality control for layered SVGs often comes down to checking alignment and layer order. Since the files are pre-structured, you should verify that no layers have drifted during importing between software. If you use the files across multiple platforms, run a quick visual check that the stacking order matches the original intent. This takes about a minute per file and prevents the frustration of discovering a misaligned layer after rendering or cutting.
Practical Implementation Tips for Different Users
How you integrate Shadowbox Nature 7 into your work depends heavily on your role and output medium. The following observations come from real usage across different contexts.
For Graphic Designers and Digital Creators
Use the layers as building blocks for composite imagery. Combine them with other vector assets, apply gradient overlays, or experiment with blend modes to create a custom look. The nature theme pairs well with typography, so consider using a layer as a background element behind text in a poster or web banner. Because SVGs are lightweight, you can include multiple layers in a web project without significantly impacting load times, as long as you optimize the file size by removing unused elements.
A practical tip: when importing the SVG into web design tools like Figma or Webflow, check whether the software preserves layer names. Some tools flatten imported SVGs, which defeats the purpose of having separate depth planes. Use a dedicated vector editor to verify the structure before importing into a prototyping tool.
For Physical Fabricators and Hobbyists
If you use a laser cutter, CNC router, or die-cutting machine, the layered SVG format is nearly production-ready. Each layer corresponds to a separate cut file. You will still need to assign material thickness and cut settings per layer, but the geometry is already separated. This saves hours of manual tracing or conversion.
One nuance: check the stroke and fill settings in the SVG before sending to your cutting software. Some converters interpret strokes as cut lines and fills as engrave areas. Adjust these in advance to match your machine's expectations. Also, consider scaling the entire composition to fit your material dimensions before splitting layers. That way, the proportions remain consistent across all depth planes.
For Small Business Owners and Marketers
Consistency is often the biggest challenge when producing visual content across different channels. A layered SVG set gives you a repeatable visual language. You can use the same nature-themed depth effect on your website, in email headers, on product packaging, and in social media posts. The consistent style builds recognition without requiring you to commission custom illustrations every time.
A useful approach is to create a template file with your brand colors applied to each layer. Save that as a master file, and then for each new piece of content, duplicate the master and adjust the layout or crop rather than rebuilding the depth effect. This maintains a uniform look while reducing repetition in your workflow.
Compatibility and Tool Considerations
SVG is a widely supported format, but not all tools handle layered SVGs identically. Adobe Illustrator, Inkscape, Affinity Designer, and CorelDRAW treat layer structures well. Web-focused tools like SVG.js or React Native SVG preserve elements but may require manual grouping. If you work primarily in raster-based applications like Photoshop, you will need to import the SVG as a smart object, which preserves vector data but may flatten the layers unless you import them individually.
For best results, keep a vector-native editor in your workflow for any adjustments. Even if your final output is a raster image, edit the SVG in vector software first, then export. This protects the flexibility of the file for future use.
Another practical factor is file organization. When you download Shadowbox Nature 7, take a few minutes to rename the layers in a consistent convention. For example, label layers as BG_sky, MG_trees, FG_grass. This small habit pays off when you revisit the file months later. You will not have to guess which layer controls which part of the scene.
Long-Term Use and Asset Management
Building a personal library of layered SVGs turns a one-time purchase into a long-term resource. Over time, you will accumulate multiple depth planes from different sets that can be mixed and matched. Shadowbox Nature 7 works well as a foundational layer set that you can supplement with other vector elements, such as custom typography, abstract shapes, or additional nature motifs from other sources.
Keep a master catalog file where you import all your layered SVGs as grouped symbols. This lets you browse and test combinations quickly without opening multiple files. When you need a new composition, you can drag layers from the catalog into a new document, rearrange the depth order, and apply your color palette. This modular approach reduces the friction of starting every project from scratch.
Finally, remember that the shadowbox effect relies on contrast between layers. If you find the visual depth feeling flat, adjust the spacing between layers or add subtle drop shadows to each plane. In digital outputs, a 2–3 pixel drop shadow can reinforce the separation. In physical outputs, varying the material thickness or adding a spacer layer between planes creates a more pronounced dimensional effect.
Bringing It All Together
The 3d Layered SVG. Shadowbox Nature 7 set is not a project template in itself. It is a flexible material that takes on value when you integrate it into your own process. Whether you use it for planning mood boards, executing digital compositions, fabricating physical objects, or maintaining visual consistency across business content, the practical payoff comes from treating it as a modular building block rather than a finished product. By understanding how it fits before, during, and after your work, you can reduce repetitive manual tasks, maintain creative flexibility, and produce results that feel dimensional without requiring specialized 3D skills.